nov . 04, 2024 17:06 Back to list
Best Practices for Installing Cobblestone Edging in Your Outdoor Spaces
Laying Cobblestone Edging A Step-by-Step Guide to Enhance Your Landscape
Cobblestone edging is a classic landscaping solution that adds both charm and functionality to any outdoor space. Whether you’re looking to define flower beds, create pathways, or simply enhance your garden’s aesthetic appeal, cobblestone offers a timeless and durable option. This article will guide you through the process of laying cobblestone edging, ensuring that you achieve a professional-looking finish.
Materials Needed
Before you start, gather the necessary materials and tools
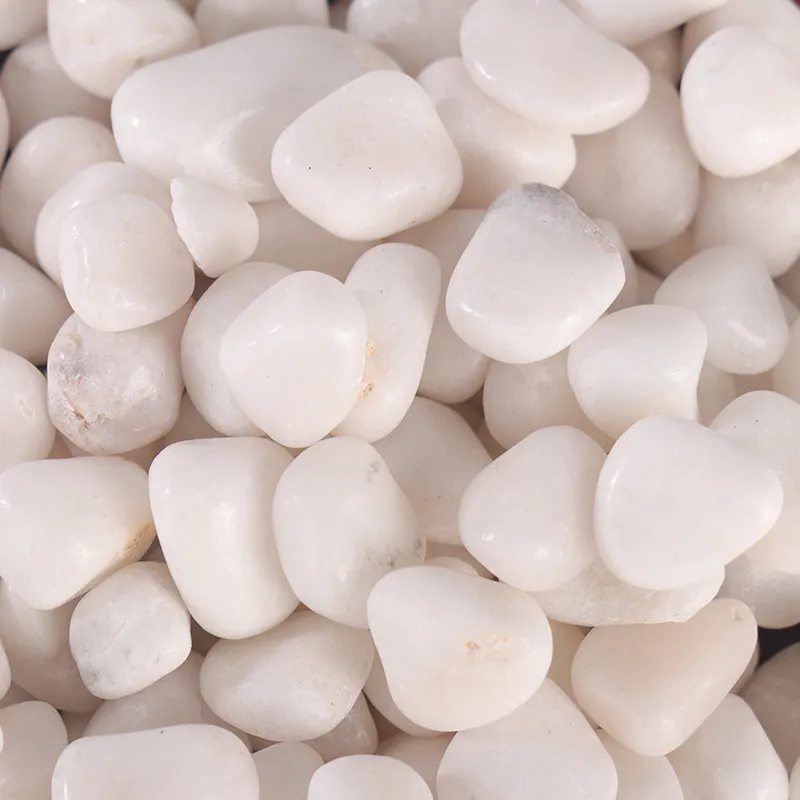
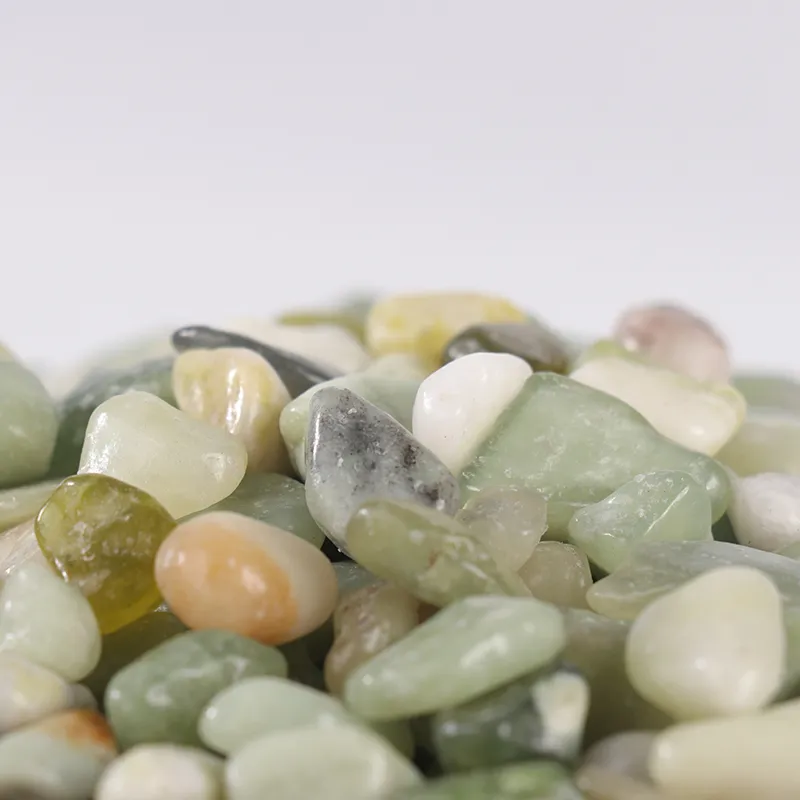
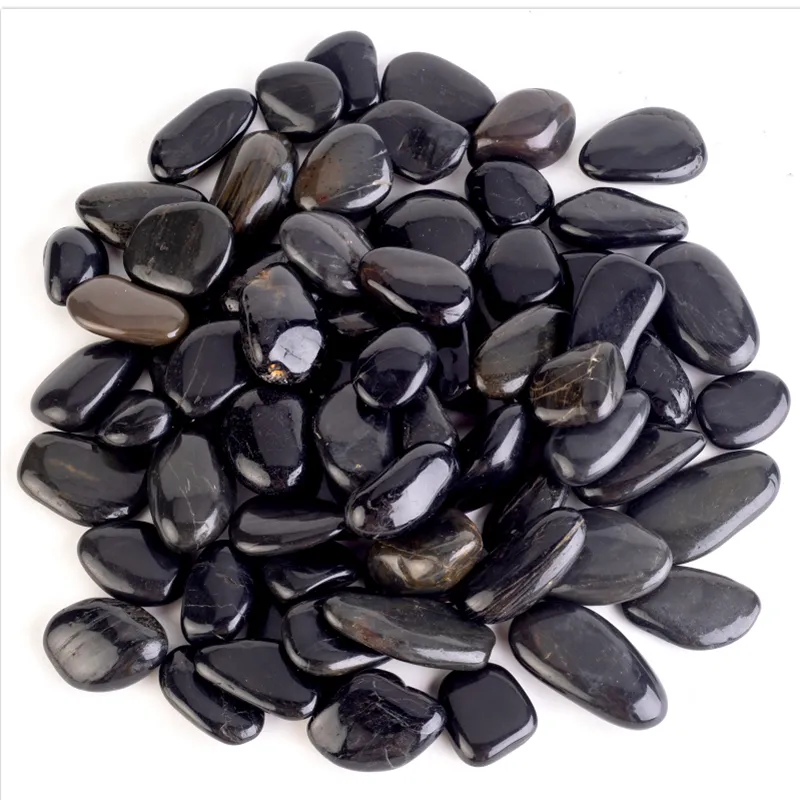
1. Cobblestones – Choose the size and color that best suits your landscape design. 2. Landscape fabric – This will help prevent weeds from growing through the stones. 3. Sand or gravel – To create a stable base for the cobblestones. 4. Edging tools – A spade, shovel, and level will make the job easier. 5. Rubber mallet – To set the cobblestones without cracking them. 6. Jointing sand – This will be used to fill the gaps between the stones.
Step 1 Planning the Layout
Before you begin any physical work, take the time to plan your layout. Use stakes and string to outline where you want your cobblestone edging to go. Consider the curves and angles you want to incorporate; cobblestone edging looks best with gentle curves rather than sharp turns. Once the layout is determined, use spray paint or chalk to mark the ground.
Step 2 Preparing the Ground
With your layout in place, it’s time to prepare the ground. Use a spade or shovel to remove any grass, plants, or debris from the marked area. You will need to dig trenches that are about 4 to 6 inches deep and slightly wider than the stones you intend to use. As you dig, make sure the bottom is level to ensure that the cobblestones sit correctly.
Step 3 Adding a Base Layer
laying cobblestone edging

Once the trench is excavated, add a 2 to 3-inch layer of sand or gravel. This base layer will help with drainage and stabilizes the edging. Level the base using a straight board or a level to ensure a flat surface. Compact the material to avoid any shifting in the future.
Step 4 Laying the Cobblestones
Now for the fun part laying the cobblestones! Begin at one end of the trench and place the stones side by side. As you lay each stone, tap it down gently with a rubber mallet to ensure it is seated firmly in the base. If you want a more decorative look, consider alternating colors or patterns as you lay the stones.
Step 5 Filling in the Gaps
Once all the cobblestones are in place, it’s time to fill the gaps. Sprinkle jointing sand over the stones and use a broom to sweep it into the cracks. This step is crucial as it locks the stones in place and prevents weeds from sprouting. After sweeping, lightly mist the area with water to help the sand settle.
Step 6 Finalizing the Edging
To give your cobblestone edging a clean look, check the alignment once more with a level. Make any adjustments if needed. After the cobblestones have settled, you can backfill the area outside the edging with soil or mulch for a finished appearance. This will also improve drainage around the stones.
Conclusion
Laying cobblestone edging is not just a practical choice; it’s a way to express your personal style in your outdoor space. With some planning and care, you can create a beautiful and functional landscape feature. Enjoy the satisfaction of a job well done and watch as your garden transforms into a picturesque sanctuary. Remember, while the process requires effort, the results will be worth every moment spent getting your hands dirty. Happy landscaping!
-
Transforming Your Landscape with Black Rocks and Pebbles
NewsApr.15,2025
-
Transforming Outdoor Spaces with Elegant Cobblestones
NewsApr.15,2025
-
Enhancing Your Landscape with Black Pebbles and Gravel
NewsApr.15,2025
-
Enhancing Outdoor Spaces with Timeless Cobblestone Designs
NewsApr.15,2025
-
Enhancing Outdoor Spaces with Black Pebbles and Gravel
NewsApr.15,2025
-
Creating a Striking Landscape with Black Pebbles and Garden Stones
NewsApr.15,2025