نوفمبر . 30, 2024 22:00 Back to list
installing cobblestone edging
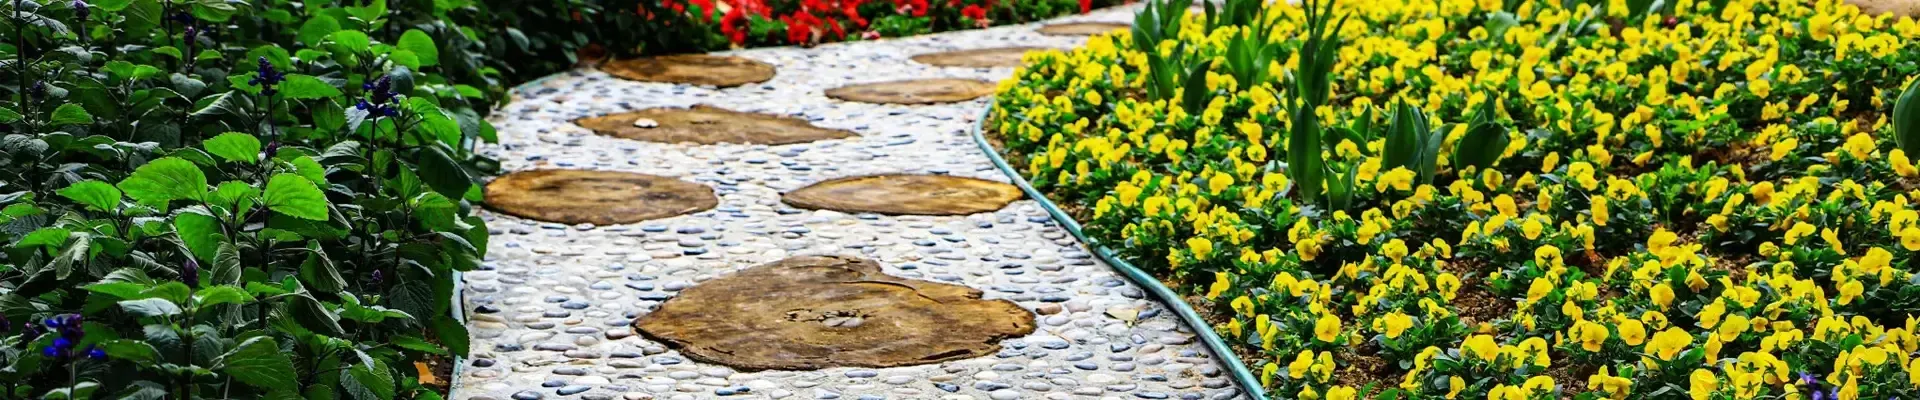
Installing Cobblestone Edging A Step-by-Step Guide
Cobblestone edging can add a touch of elegance and charm to any landscape. Whether you aim to enhance your garden, pathway, or driveway, this classic design element serves both functional and aesthetic purposes. This guide will walk you through the steps of installing cobblestone edging, ensuring you achieve a stunning and long-lasting result.
Step 1 Planning Your Layout
Before you begin, take some time to plan the layout of your cobblestone edging. Consider the area you want to edge, the shape you wish to create, and the overall design of your landscape. Use a garden hose or string to outline the shape, making sure it is visually pleasing and fits well with your existing features. Plan for adequate spacing and consider how the edging will interact with plants, flowers, and grass.
Step 2 Gathering Your Materials
Once your layout is established, gather the necessary materials and tools. You'll need
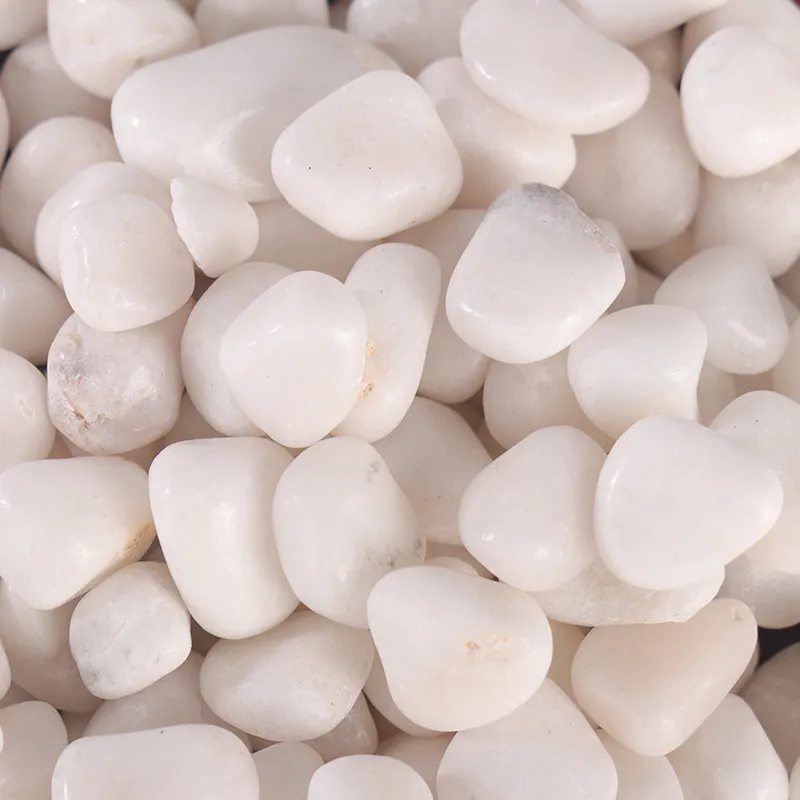
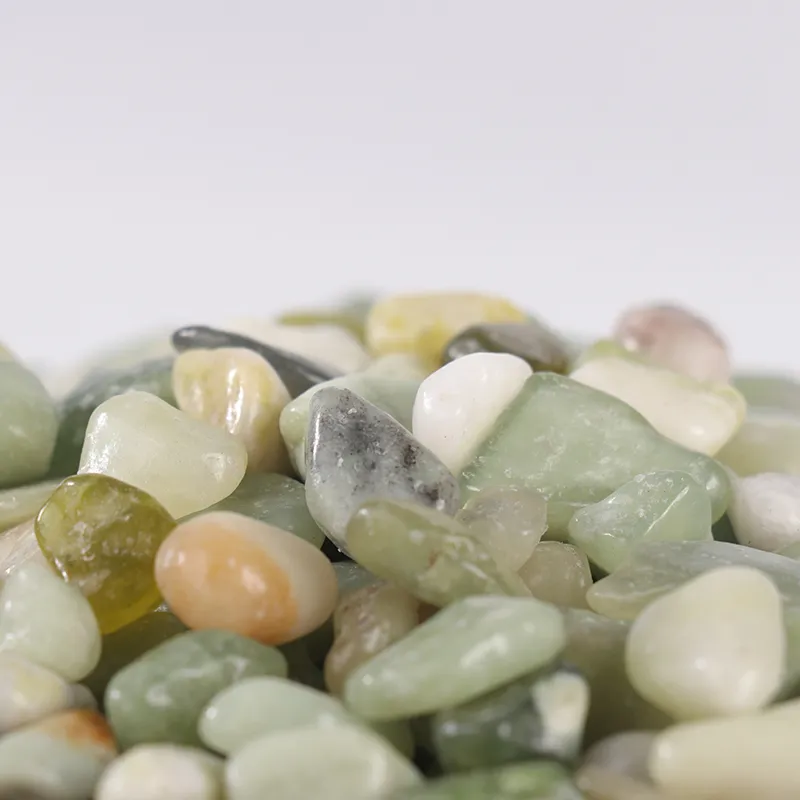
- Cobblestones (choose the size and color that fits your design) - Landscape fabric (to prevent weeds from growing through) - Sand or gravel (for the base) - A rubber mallet - A level - A trowel - A shovel - Measuring tape - A saw (for cutting cobblestones if necessary) - Safety gloves and goggles
Step 3 Preparing the Area
Prepare the area by removing any existing sod or vegetation along the planned edge. Use a shovel to dig a trench about 4 to 6 inches deep and 6 to 8 inches wide, depending on the size of the cobblestones. This trench will provide a stable base for your edging. Ensure that the bottom of the trench is level, using a level tool to check your progress.
Step 4 Laying the Base
After digging the trench, add a layer of sand or gravel to create a stable base for the cobblestones. Spread about 2 to 3 inches of sand or gravel along the bottom of the trench and level it out. This base will help with drainage and ensure that the cobblestones sit evenly.
installing cobblestone edging

Step 5 Installing the Cobblestones
Start placing the cobblestones into the trench, beginning at one end and working your way to the other. As you place each stone, take care to ensure they fit snugly together. Use a rubber mallet to gently tap the stones into place to ensure they are secure and level with the surrounding ground.
As you work, periodically check the alignment and level of the stones. Adjust as needed, adding or removing sand as required to maintain evenness. If you need to cut any stones to fit the design, use a saw to make precise cuts.
Step 6 Backfilling and Securing
Once all the cobblestones are in place, backfill the trench with soil on both sides of the stones. Ensure that the soil fills any gaps and helps secure the stones in position. Use a hand tamper or your foot to compact the soil and stabilize the edging.
Step 7 Finishing Touches
After backfilling, cover the soil with landscape fabric if you want to further inhibit weed growth. This step is optional but recommended. You can also add decorative stones or mulch along the edges for extra visual appeal.
Finally, water the area lightly to help settle the soil and cobblestones into place. Keep an eye on the edging over the next few days, ensuring no stones have shifted and adjusting as necessary.
Conclusion
Installing cobblestone edging is a rewarding DIY project that can significantly enhance the beauty of your outdoor space. With careful planning and execution, you can create a functional and attractive boundary that complements your garden's unique style. Remember to take your time during each step of the process, and don’t hesitate to seek assistance if needed. Enjoy your newly transformed landscape, and watch as your cobblestone edging stands the test of time!
-
Transforming Your Landscape with Black Rocks and Pebbles
NewsApr.15,2025
-
Transforming Outdoor Spaces with Elegant Cobblestones
NewsApr.15,2025
-
Enhancing Your Landscape with Black Pebbles and Gravel
NewsApr.15,2025
-
Enhancing Outdoor Spaces with Timeless Cobblestone Designs
NewsApr.15,2025
-
Enhancing Outdoor Spaces with Black Pebbles and Gravel
NewsApr.15,2025
-
Creating a Striking Landscape with Black Pebbles and Garden Stones
NewsApr.15,2025